Ten Tips for Taking IG-Worthy Food Photos with your Phone
If you’re reading this, you’ve probably wondered why the food photos you take with your phone look nothing like your friends’ #foodporn worthy social media posts.
We all know the ones. #droolgram
Don’t worry, we’re here to help. This post is your one-stop shop for all the photo tips from across the internet, so next time you want to share your meal, you’ll be ready to go.
#1 Tip to Take Better Food Photos: Natural Light
This is probably the most widely agreed upon tip for food photography. Ditch the flash and take advantage of natural lighting. According to the Iphone Photography School, the best time to shoot is when the light is soft such as late afternoon / early evening or morning to avoid harsh shadows from bright sunlight.
This is especially true for food photography. Nothing ruins food photos faster than orange or blue lighting or dim restaurant photos with virtually no light.
When shooting inside, position your food near a window and adjust the blinds to let in indirect light. If the sun is casting shadows inside your house, hang a semi-translucent white pillow case or bedsheet to filter the light and reduce harsh shadows.
#2 Idea to Take Better Food Photos: Full Spectrum Lamp
If there’s no available natural light, be mindful of the artificial light you choose. Soft lamps and LED full spectrum lights will get better results than fluorescent or yellowy-incandescent ones.
Full spectrum lights refers to having all the colors represented that naturally occur in daylight from the sun. Many artificial lamps skew too much towards one color; Fluorescent bulbs often cast too much blue light making food look dull and gray. Incandescent lamps skew too orange. You can find full spectrum LED lamps on Amazon that are commonly used by YouTubers and vloggers that work pretty well for food.
#3 Tip: Reflective Material to Soften Shadows
Placement of your lighting also impacts the shadows it casts. One technique for counterbalancing shadow cast by artificial lamps is using a white reflector to bounce light back into the shadows. Placing white-colored foamboard, posterboard, or cardboard opposite your lamp works great for this.
#4 Tip: Play with Angles
Know your angles. The most appealing food photos with your phone are often overhead capturing the table and setting, allowing you to capture the whole spread. Snapfluence advises to utilize straight-on shots mainly for vertically stacked dishes, like pancakes or a burger.
45 degree angles can work well to capture multiple dishes in a vertical mode.
#5 Tip for Better Food Photography: Use Backdrops
A visually appealing backdrop makes the photo pop! Try to fit your background to the aesthetic of the food. For example, wood cutting boards give a more rustic feel while classic white plates can be a vibrant pop on a contrasting dark background or with colorful food. Weatherbeaten wood picnic tables also add an outdoor, casual vibe. Use that marble or slate cheese board you were gifted.
As a general rule, try to use backdrops that are neutral and non-distracting. If using a straight-on angle for vertical foods, adjust your focus on the dish to get the glossy, blurry background.
#6 Tip: Add Props for Visual Appeal
Using props is a delicate balance, but if done correctly, it can help shape the mood of the image and tie the entire meal together. Napkins, silverware, and tablecloths will all make a big difference. Play around with different place settings for color and style. Just be careful not to overly crowd the photo.
Other props may include the recipe ingredients themselves, drinks, condiment jars, juicy fruit, or bunches of herbs. Just make sure that they don’t distract! It’s best to control focus on the main dish and keep the other ingredients in a blurry background or at the edges of the photo.
There’s a reason professional chefs spend so much time agonizing over the art of the plating. Even in home kitchens, arranging the food just so makes for a better picture. Follow a Michelin star chef’s advice and get creative with it!
#7 Tip: Use Condiments
Another hot tip for styling great food photos is to use drizzle condiments, sprinkle chopped herbs or nuts, or scatter other diced ingredients or seasonings around the plate to spark interest and visually communicate what’s in the dish.
And it’s not just for the photo. There’s even evidence that suggests visually appealing food actually tastes better.
#8 Tip to Take Better Food Photos on your Phone: Focus, Focus
Play around with the focusing capability on your phone. See if sharpening the food and softening the background makes a difference. This can also help emphasize texture, like a creamy carbonara. More tips here.
#9 Tip: Use a Grid
Most smartphones allow you to overlay a grid over the photo you’re taking. On both iphone and android, the “grid” toggle is in your camera and phone settings. Turn it on and make sure your lines are straight, or adjust to the rule of thirds.
#10 Tip: Zoom Less
Whatever you do, don’t zoom. Modern Phones take very high resolution photos and you will likely want to edit the photo for the perfect frame. There are plenty of apps that can help with the editing process (one of our favorites is Google’s free mobile app called Snapseed). Some key photo edits to learn about are highlights, shadows, white balance, and tints.
Fight the temptation to go overboard with editing, and try to let your photo look as natural as possible. If you shoot with soft natural light, you’ll have much less need to edit anyways.
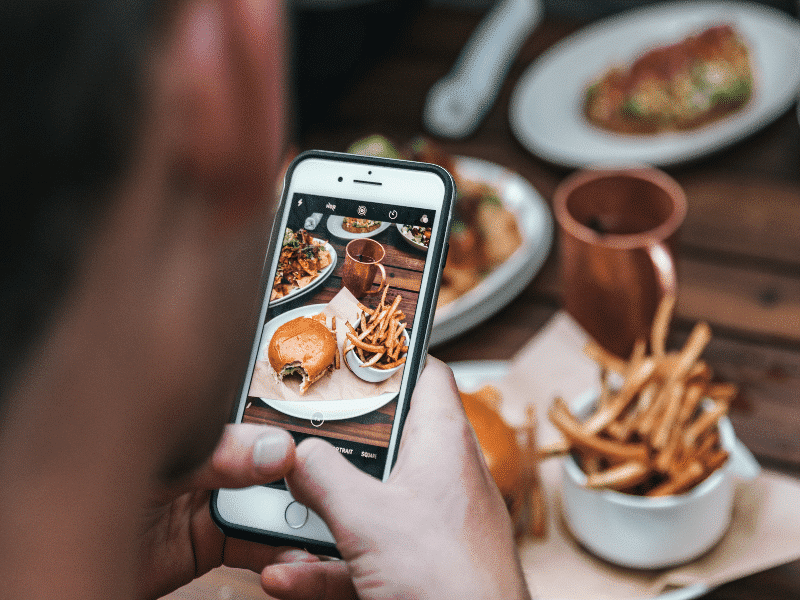
Bonus Phone Food Photo Tip: Restaurants
Sometimes leaving the cooking up to the professionals can lead to the perfect pic. Some tips while eating out: don’t use flash (even when the lighting is dim), try to capture the meal exactly as it’s served (phone eats first), and play with shadows when editing. If there is still daylight, ask for a table outside or near the window for best lighting.
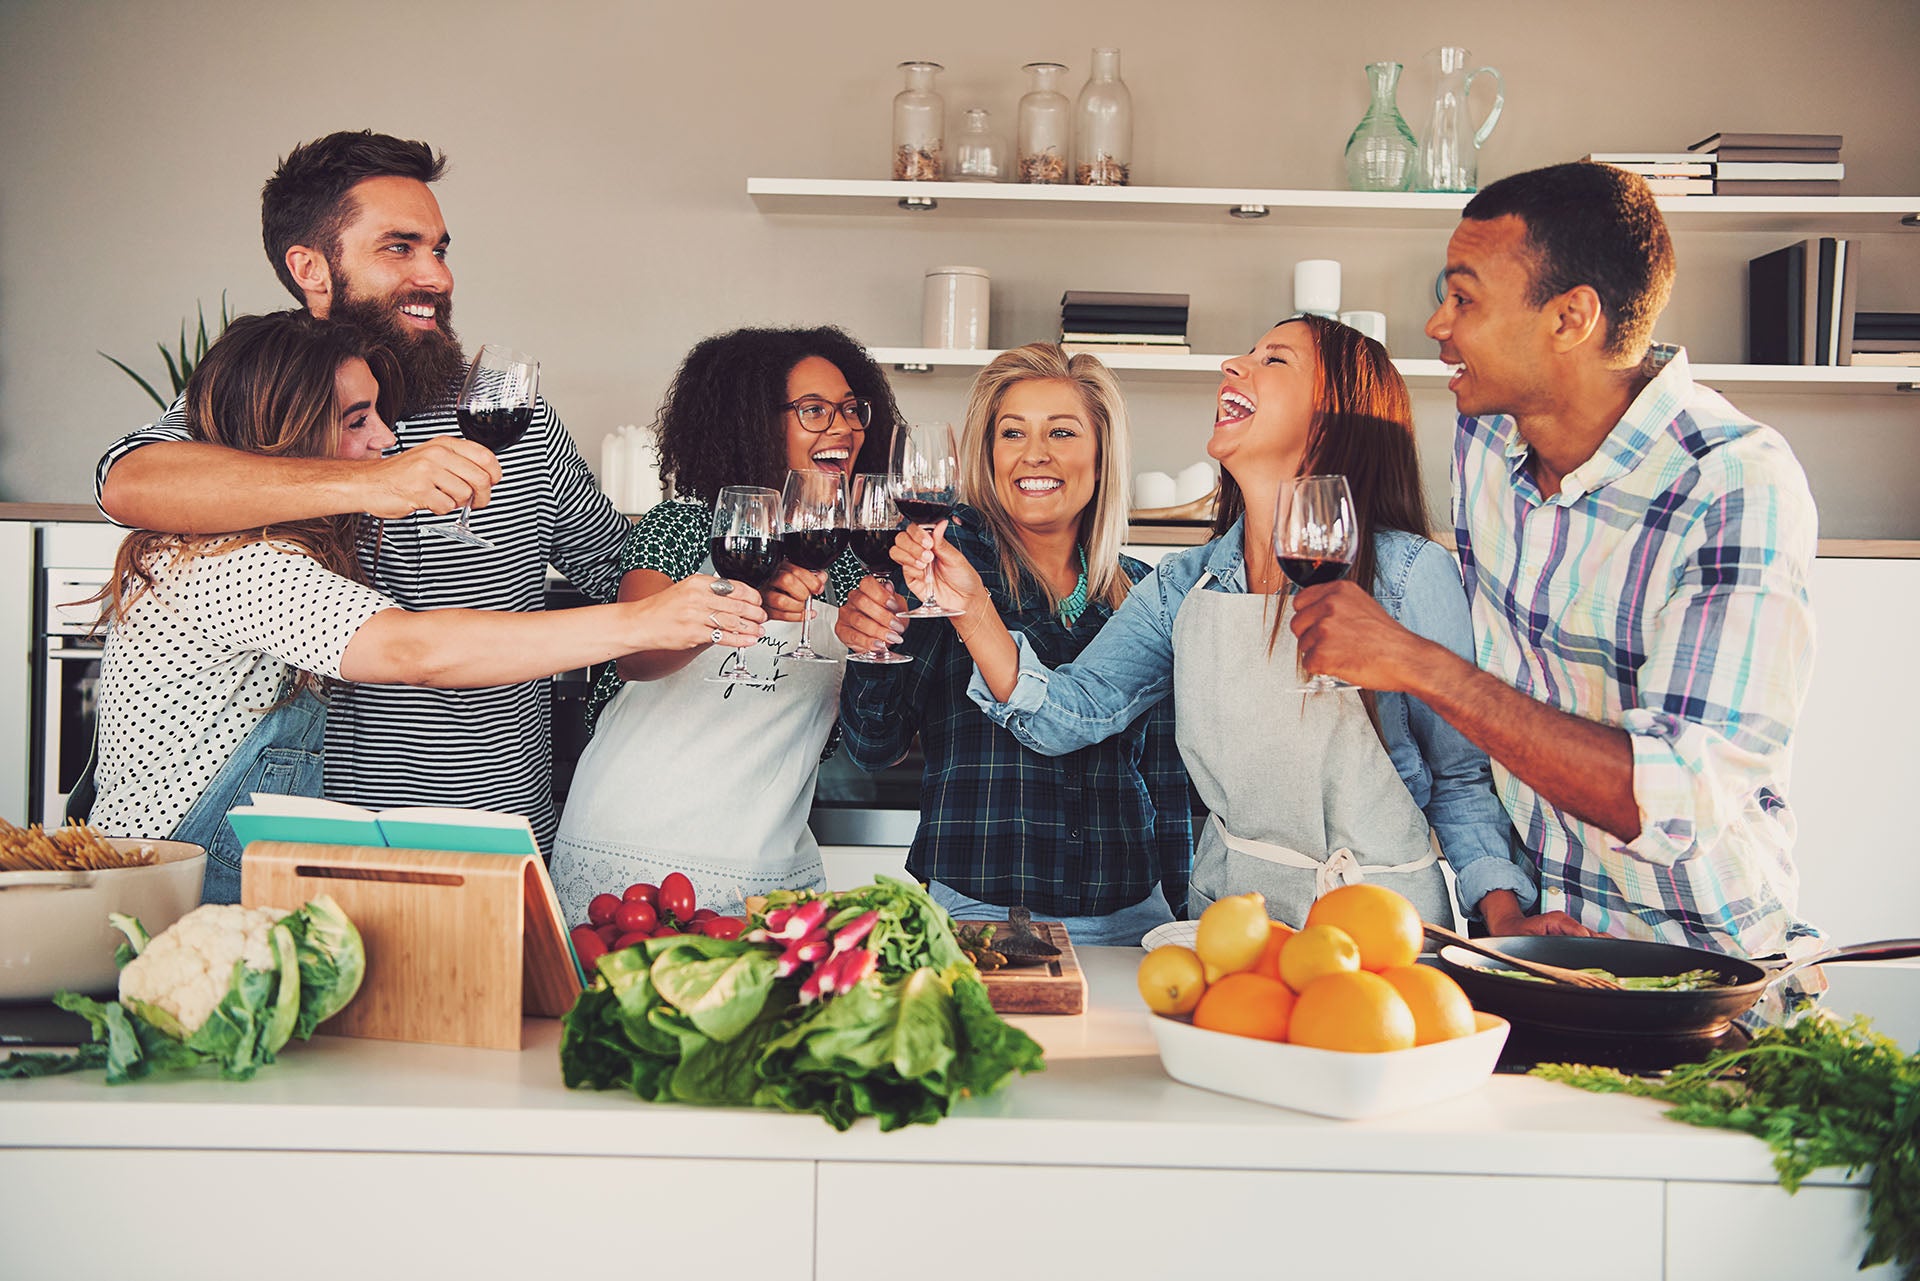
Top Insta-snappers take their food near windows for a quick photo shoot in their hands when they can sit near natural light.
Or, stand on a chair and ask your friends to keep some hands on their settings to get the perfect group overhead shot of a communal meal
Want Exotic Flavors sent to your house? Try the Piquant Post Spice Subscription

Each month, our chefs send you a selection of 4 handcrafted spice blends and curated recipes to use the spices from a specific region or country. Recipes have shopping lists and step-by-step cooking instructions using our spice blends. Each month is like taking a culinary tour of a new place!
Get Piquant Post